Your Cart is Empty
Order PicoPC now on InDemand >>

One of the many things you can do with the Pantera Pico PC is virtualization.
So what is virtualization? If you’re new to the concept, but have been using computers for some time, it’s likely that you may already have used it in some form in the recent past. Take for example video game emulators, the software that allows you to run games meant to be used for another device but you use it on your desktop computer. Those are getting to be pretty common these days. If it can be done for playing computer games, you can likewise do it for whole desktop computer environments, or the more familiar name: operating systems.
Having other operating systems running inside your existing operating system has many uses, like: trying out new desktop environments; saving files from an older system to another; comparing or trying new software versions; writing new software and testing on different platforms; browsing the internet with higher levels of safety; among many other things.

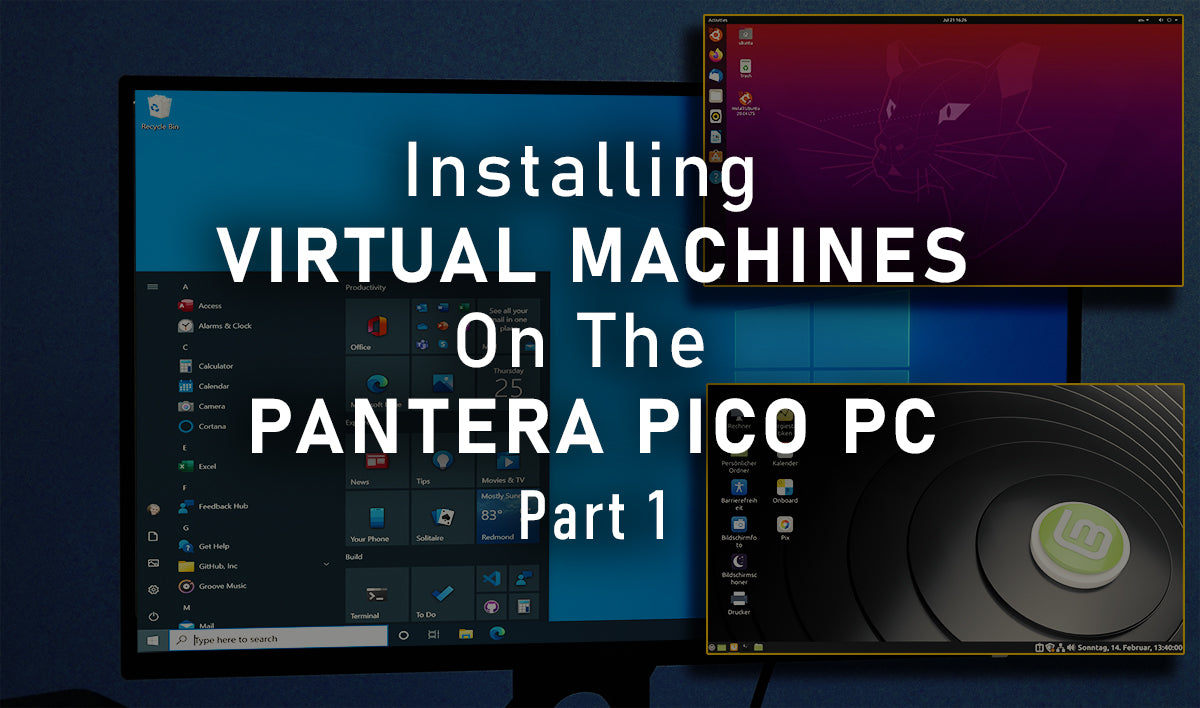
Shown above is Windows 10 running on the Pantera Pico PC, while also running 2 virtual machines, Ubuntu and Windows 11, in their own isolated windows.
This is the most cost-effective way to do all them, and a lot more, without having to acquire a separate computer for each of those purposes. It will just borrow some of your system resources while they’re running, and your main computer is unaffected with whatever you do in each guest OS.
What’s nice is that when you’re done with a particular OS virtual machine, you can just delete it, and leave your existing system unchanged. Think of it like AirBnB, but for operating systems.
Here, we will show you how to dive into virtualization with your Pantera Pico PC the easy way and absolutely free using VirtualBox inside Windows 10.

VirtualBox is a free and open source software from Oracle that will perform the task of a hypervisor, and for this purpose, we will use a Type 2. What a Type 2 hypervisor does is it manages your virtual machines so they can run alongside your current operating system. Note that some of these instructions below will take you to parts of your computer that, if you do not pay attention, can break your system and thus, you do so at your own risk.
Ok, we know you’re excited, so let’s jump right to it.
This is Part 1.
We are assuming that since you are using a Pantera Pico PC, you are using Windows 10.
So first, we will check if your Pantera already has virtualization enabled:
Right-click on your taskbar and click on Task Manager.
Go to the Performance tab and look for Virtualization on the lower right hand side.
If it says “Enabled” then you’re good to go.
If it shows “Disabled,” you will manually have to enable it in the BIOS menu.
ENABLING VIRTUALIZATION IN BIOS
On Windows, go to Start, Settings, then scroll all the way down and click Update & Security.
Then on the left hand side, choose Recovery.
Next, on the right, choose Advanced startup, click Restart now.

Your Pantera Pico PC will restart.
In “Choose and option” click Troubleshoot, next Advanced Option, then UEFI Firmware Settings, then click RESTART on the next screen.
Your computer will go into the blue BIOS MENU screen. Go to the 2nd tab (Advanced), third row down is CPU Configuration, go there and set the Intel Virtualization Technology to "Enabled."

Then also set the VT-d to "Enabled"

Now got to the last tab, Save & Exit, then hit [Enter] on "Save changes and Exit" (or press F10 on your keyboard), then choose "Yes"

Your Pantera Pico PC is now ready for virtualization.
IF YOU CAN'T SEE THE ABOVE OPTIONS ON YOUR BIOS SETTINGS:
You may need toggle the BIOS options' visibility.
Follow these quick steps to update your BIOS’s firmware:
